Installing a Vinyl Fence: A Comprehensive Guide
- May 20, 2025
A fence does more than mark your property—it brings privacy, security, and curb appeal to your home. Among the many fencing options available, vinyl fencing stands out for its durability, low maintenance, and timeless aesthetic. If you’re considering vinyl fence installation, this detailed guide walks you through everything you need to know—from types and materials to a complete, step-by-step guide.”
Let me know if you’d like the keyword placed elsewhere or used more than once
Why choose a vinyl fence?
Vinyl fences are a top choice for homeowners due to their combination of style, function, and long-term value. Here’s why they’re widely recommended:
Low Maintenance
Unlike wood, vinyl never needs painting, sealing, or staining. A rinse with soap and water keeps it looking pristine.
Durability
Long Lifespan
A professionally installed vinyl fence can last 20 to 30 years or more with minimal upkeep.
Aesthetic Versatility
Choose from privacy panels, picket designs, lattice tops, and even wood-look finishes to complement your home’s architecture.
Eco-Friendly
Safe for Families
No splinters or sharp edges. Vinyl is non-toxic and safe for children and pets.
Types of vinyl fencing
Choosing the right style enhances function and curb appeal:
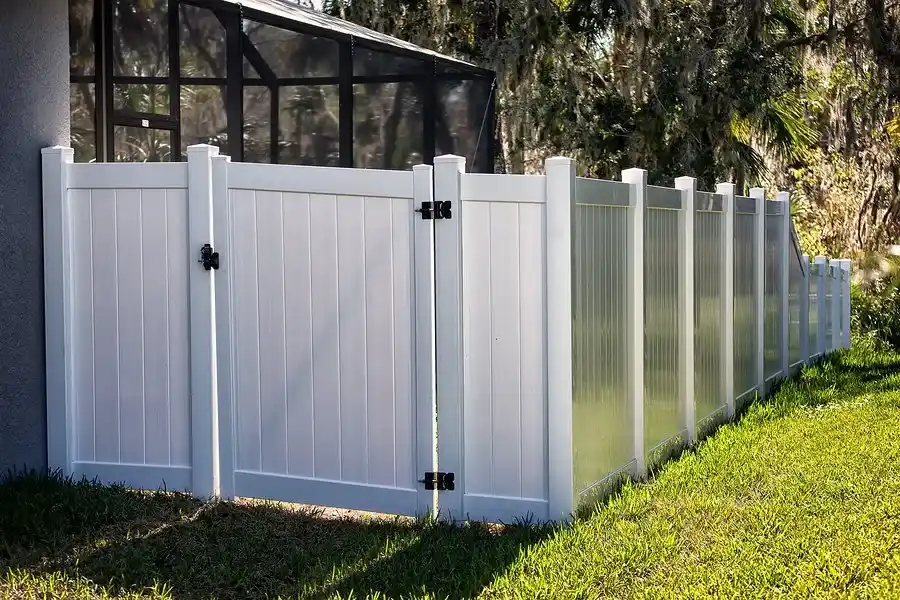
Vinyl Privacy Fence Installation: Full panels block visibility, ideal for backyards and pools.
Picket Fences: Decorative with spaced slats, best for front yards or gardens.
Post & Rail (Ranch Rail): Open-style, commonly used in rural or large properties.
Lattice Top Privacy Fence: Combines seclusion with style via decorative top patterns.
Shadowbox Fence: Alternating pickets allow airflow with privacy from both sides.
Tools & Materials Needed to Install Vinyl Fence
- Tape measure
- Post hole digger
- Level
- Rubber mallet
- Drill machine
- Stakes and string
- Circular saw (for custom cuts)
- Vinyl fence panels
- Line, corner, and gate posts
- Brackets and screws
- Concrete mix
- Gravel (for drainage)
- Post caps
Estimate Your Fence Cost — Fast & Free
Get a Quick Quote With Estimate in Minutes.
Preparing for Vinyl Fence Installation
Measure and Mark: Outline your layout using stakes and string. Include corners and gates.
Check Property Lines and Permits: Confirm boundaries and obtain any required city or HOA permits.
Locate Underground Utilities: Call 811 to mark gas, electric, or water lines before digging.
Terrain Evaluation: Inspect the site for slopes, rocks, or obstructions. For a vinyl fence on a slope, adjust plans to step or rack panels accordingly.
Important Considerations for Vinyl Fence Installation/Installation Tips for Your Vinyl Fence
- Ensure Proper Spacing between Poles
- Install the Corner Post First
- Consider Adding Gravel at the Bottom for Drainage
- Check Local Regulation
- Slope Considerations
- Expanding and Contracting
- Maintenance and Care
- Professional Assistance
Vinyl Installation Cost & Budgeting
DIY Materials Only: $10–$25 per linear foot
Professional Installation: $20–$40 per linear foot
Cost Factors:
- Fence type (privacy vs. picket)
- Linear footage and number of gates
- Soil conditions (rocky or uneven terrain increase cost)
- Permit fees
Accurate budgeting for vinyl fence installation costs prevents surprises and ensures your project remains on track.
Step-by-Step Guide on How to Install a Vinyl Fence
Plan and Measure Your Fence Layout
Mark the layout using stakes and string. Measure the distance between posts, accounting for gates and corners.
Dig Post Holes
Depth: 24–30 inches
Width: 10–12 inches
Add 6 inches of gravel at the bottom
Set the Posts
Place the post, check for plumb, and fill it with concrete. Let it cure for 24–48 hours.
Attach Fence Panels
Slide the panel into routed post holes or use brackets. For how to install vinyl fence panels with brackets, align the bracket to the post, screw it in place, and secure the panel firmly.
Install Gates
When learning how to install a vinyl fence gate, reinforce posts with extra concrete. Attach hinges and latches precisely. Ensure the gate swings without obstruction and aligns with the fence.
Cap the Posts
Snap on or glue post caps to prevent debris and water from entering.
Conclusion
Vinyl fencing is a smart, long-lasting solution that combines elegance, security, and low maintenance. With proper planning, tools, and technique, you can transform your yard with a fence that stands the test of time.
Get an Instant Estimate – Fence Cost Calculator
Curious about your vinyl fence installation cost? Try our free Fence Cost Calculator for a personalized estimate based on size, style, and labor.
FAQs
1. What are the ways to install fence posts?
Dig holes 24–30 inches deep, add gravel, and set the posts in concrete. Ensure each post is plumb and aligned before the concrete sets.
2. How to install a vinyl fence panel with brackets?
Align the brackets to the fence post and screw them in. Insert the panel, level it, and secure the opposite side. Always check alignment before tightening.
3. How to install a vinyl fence on a slope?
Use racked panels for gentle slopes or step each panel for steeper grades. Choose the method based on terrain and fence style.
4. How to install a vinyl fence gate?
Set reinforced gate posts, attach gate brackets, and align hinges and latches. Test swing motion and adjust as needed before securing.
Estimate Your Fence Cost — Fast & Free
Get a Quick Quote With Estimate in Minutes.
Latest Post