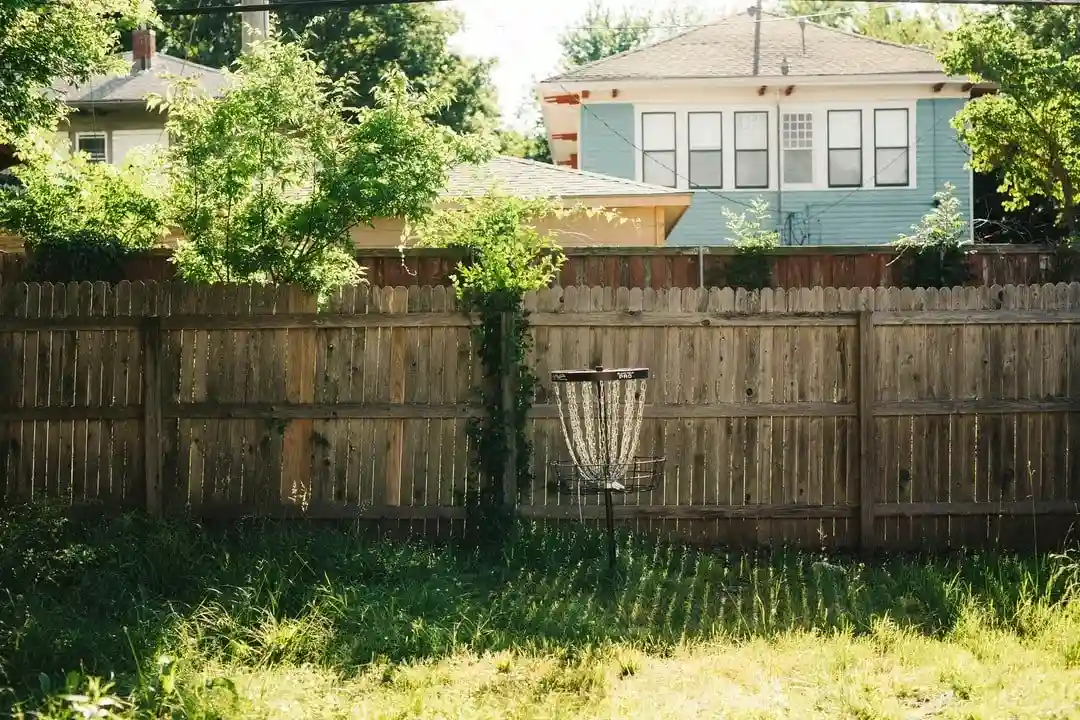
A pressure treated wood fence is a durable, cost-effective alternative to cedar fence, but staining pressure treated wood requires proper timing and preparation to ensure long-lasting results. In this guide, we’ll cover when it’s safe to stain, how to choose the right stain, and essential prep steps for a flawless finish.
When Is It Safe to Stain Pressure Treated Wood?
Pressure treated wood undergoes a chemical treatment process that involves forcing preservatives deep into the lumber using water. This makes the wood highly resistant to rot and insects—but also very wet when purchased.
Key Considerations:
- Wet-treated wood holds a high moisture content and may need several weeks to dry before staining.
- Kiln-dried or air-dried wood (marked KDAT or ADAT) is ready to stain immediately.
- Wood with a water repellent coating may not absorb water-based stains effectively. Opt for an oil-based exterior stain in this case.
Try the “Sprinkle Test”:
Sprinkle water on the wood surface:
- If it absorbs within 10 minutes, it’s ready to stain.
- If it beads or pools, give it more time to dry.
How to Choose the Right Stain
Stain selection impacts both aesthetics and durability.
- Transparent stains show off natural wood grain.
- Semi-transparent stains add color while still revealing some texture.
- For new fences, use lighter stains that allow future touch-ups with darker shades.
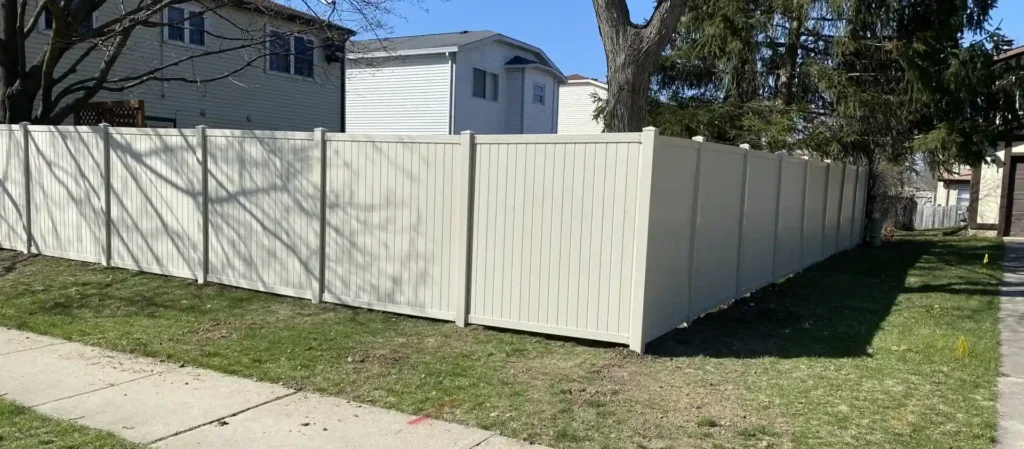
- On sun-exposed structures, choose a light stain to reflect heat.
Clean and Prepare the Wood
Before staining, make sure the wood is clean and dry.
Steps to clean pressure treated wood:
- Use a deck cleaner and scrub with a stiff brush.
- Rinse with a garden hose or pressure washer.
- Let it dry for at least 24 hours.
Tip: If the wood is brand new, light brushing may be enough.
Staining Pressure Treated Wood Fence – Step-by-Step
- Avoid direct sunlight during staining to prevent uneven drying.
- Protect nearby areas using tarps or painter’s tape.
- Brush off dust or debris before application.
- Stir the stain and pour it into a tray.
- Test on a small area to confirm the color.
Application:
- Use a paint pad applicator for even coverage.
- For edges and tight spots, use a paintbrush.
- Usually, one coat is sufficient.
- Start at the top and work downward for vertical surfaces.
- Let stain dry for at least 24 hours.
💡 Pro tip: Pre-stain downward-facing surfaces like 2x4s before installation for better protection.
Can You Paint Pressure Treated Wood?
Paint can adhere to pressure treated wood, but it’s more prone to peeling.
To successfully paint:
- Let the wood dry completely.
- Apply a primer designed for treated wood.
- Use latex paint and apply at least two coats.
Sealing Pressure Treated Wood
Most exterior wood stains include a sealant, but additional sealing may offer enhanced protection.
- Use a clear sealant to highlight the wood’s natural grain.
- For convenience, consider a stain-and-sealer combo product.
- Apply sealant just like stain and choose UV-resistant options for outdoor use.
Many building codes require pressure treated wood in retaining walls, ground contact lumber, and other exterior wood projects. It is primarily made of southern yellow pine. Pressure treated wood staining can help decks, fences, and other structures look better and last longer.
Buy a Fence is your one-stop shop for all things exterior home improvement. Are you looking for a professional to finish your project? Contact us today!
Visit our Fence Staining Services page to learn more.