Step-by-Step Guide on How to Build a Wood Fence
- June 25, 2025
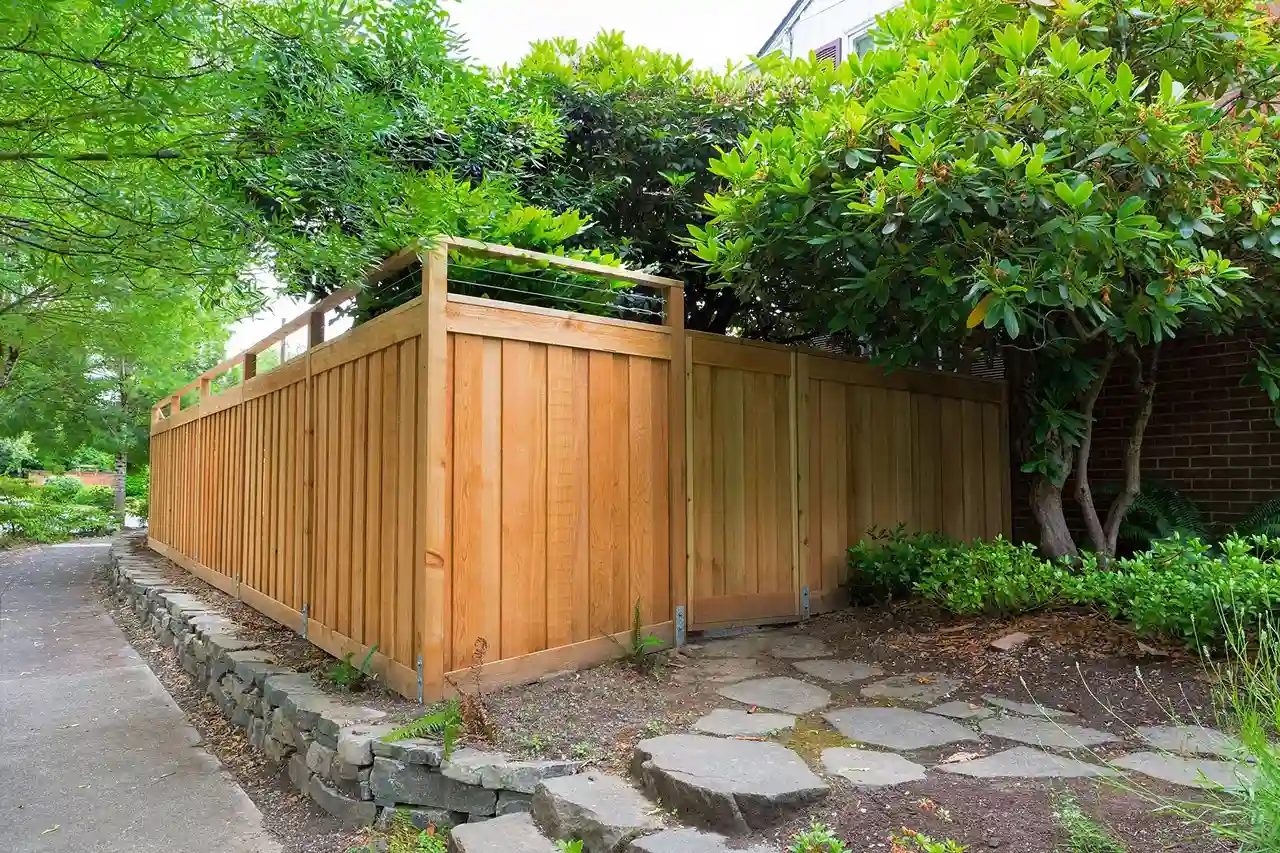
Wooden fences are widely popular to enhance the aesthetic, privacy, and security of your home. It’s an effective way to keep pets in, mark property boundaries, block noise, and unwanted views. If you’re looking for ways to build a wood fence, you’ll need careful planning, the right materials, and step-by-step instructions. Understanding the ins and outs is essential in achieving rewarding, cost-effective, and professional results.
This comprehensive guide will help you know everything you need to know about building a wood fence, including planning, the choice of the right material, weather, cost insights, and advanced wood fence maintenance tips. Let’s dive in!
Why Build a Wood Fence?
A blend of sustainability and aesthetic wood fence is the right choice for homeowners. There are several compelling reasons to choose a wood fence:
- Affordability: Compared to vinyl, metal, and other fencing options, wood is budget-friendly while offering a premium look.
- Customizability: It can be easily customized, including the height, paint, stains, or shapes according to your preferences.
- Natural Aesthetics: Wood blends well with natural surroundings, giving your yard a friendly, warm, and organic look.
- DIY-Friendly: Building a fence yourself with wood is a feasible option, with proper planning and tools.
- Resale Value: A well-maintained privacy fence has good resale market value.
How to Build a Wood Fence: Step-by-Step Process
A wood fence installation involves several key steps, including proper planning, choice of the right tools, time frame, budget allocation, etc. Let’s explore how to build a wood fence in a detailed, safe, and cost-effective way for long-lasting results.
Estimate Your Fence Cost — Fast & Free
Get a Quick Quote With Estimate in Minutes.
Step 1: Planning and Preparation
Thorough planning is the foremost step of wood fence installation. Before picking up your tools, take these necessary preparatory steps:
- Understand Local Regulations: Start with learning about your local rules & regulations. Connect with your area’s superior to check the essential permission required. Research height and distance rules for property lines.
- Locate Utilities: Contact your local utility agencies to locate and mark underground lines before digging post holes.
- Measure and Mark: Mark all locations, obstacles, gate points, and other areas such as trees or slopes that might affect the layout.
Step 2: Choosing the Right Material
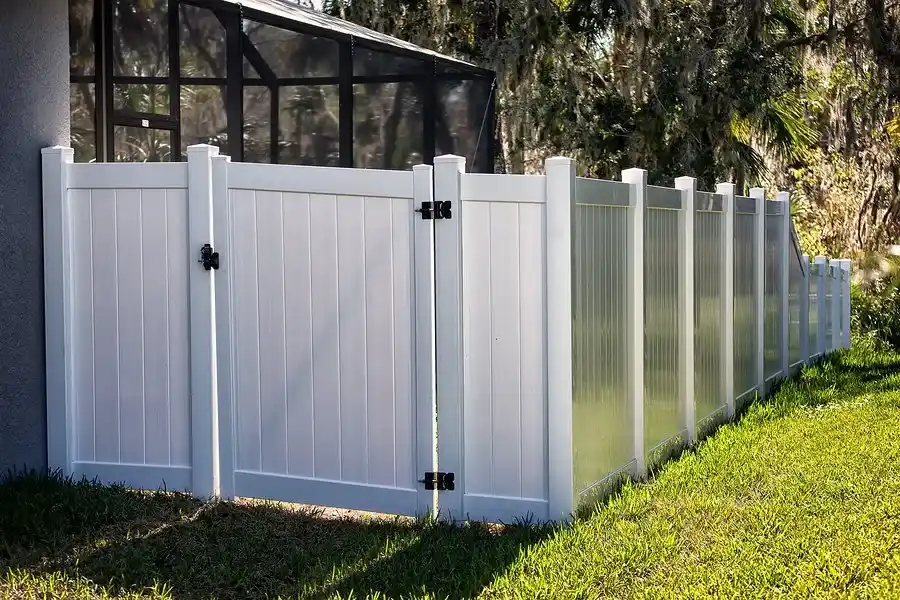
Overlap, close board, or picket; deciding on the right type of material can impact the durability of your fence. There are different types of wood for fences available that can significantly affect the cost and appearance of your property. When selecting the best wood type, consider your climate, budget, and desired longevity.
- Cedar
- Pine
- Redwood
- Spruce
- Oak
- Cypress
- Douglas Fir
- Pressure-Treated Wood
Step 3: Design and Layout Considerations
When planning a wood fence installation, getting the design and layout right is crucial for visual appeal and structural strength. Whether you’re building the fence yourself or planning to hire a professional, prior preparation can save time and prevent expensive mistakes. If you plan to DIY a wood fence, start by identifying your property lines, checking zone guidelines, and drawing a sketch of the property, including the gates, corners, and post placements. Choose the right type of wood fence depending on your requirements, as each offers unique durability and style.
Key Layout and Design Tips
- Give your fence proper support by planning for spacing fence posts 6 to 8 feet apart
- Use stakes and string to outline your fence path and keep everything straight
- When digging post holes, keep the posts sturdy. Dig at least 2 feet deep or 1/3 of the post’s length
- Decide on areas for gates and openings when placing posts
- For a privacy wood fence, make sure the panels are tightly spaced for full coverage
It’s advised to gather the essential tools for building a fence, including a post-hole digger, measuring tape, level, circular saw, drill, and other tools. These tools will help you save time and work more accurately.
A well-thought-out fence design layout is the foundation of a long-lasting fence. With a clear plan and the right tools, wood fence installation becomes much easier, even if it’s your first time.
Step 4: Tools for Building a Fence
Keep the essential tools ready for building and installing a wood fence. Tools for fence building include a post hole digger, a power auger, a shovel and wheelbarrow, a measuring tape and string line, hammer, nail gun, power drill with screwdriver bits, circular saw, level and square, safety gloves and goggles, and concrete mix and bucket.
Estimate Your Fence Cost — Fast & Free
Get a Quick Quote With Estimate in Minutes.
Step 5: Digging and Setting the Fence Posts
Digging and setting fence posts is the first step in forming the foundation of your fence. Here’s the step-by-step process to follow:
- Mark post locations: Space 6-8 feet apart
- Dig holes: Aim for a depth of at least 1/3 the total height (e.g., an 8-foot post requires a 2.5-foot hole)
- Gravel base: Pour 4-6 inches of gravel for drainage
- Set post: Place it in the hole and ensure it is level (vertically)
- Add concrete: Pour pre-mixed concrete around the post and tamp it down
- Check alignment: Use a level and string to keep all posts consistent in height and position
- Cure: Let the concrete set for 48 hours before moving on to the next step
Attaching the Fence Rails
- Fence rails should be installed horizontally and support the fence boards
- Use pressure-treated 2x4s for strength and longevity
- Attach two rails for fences up to 6 feet tall and three rails for taller fences
- Place the top rail 6 inches below the top of the post, and the bottom rail 12 inches above the ground
- Secure the fence rail using galvanized screws to prevent rusting
- Double-check the level before final tightening
Installing the Fence Boards (Panels)
- Once the fence rails are in place, it’s time to add the boards
- Start with a corner post: Use a spacer to mark even gaps between boards
- Vertical alignment: Use the level tool to keep boards straight
- Fastening: Use nails to fix boards to rails using weather-resistant hardware
- Top trim (optional): Add decorative caps or trim for a polished look
Step 6: Weatherproofing and Sealing
Protect your fence from the elements with the right finish. Use wood sealant and apply it within 2 weeks of installation. Oil-based stains offer better weather resistance, while water-based stains are easier to clean and less toxic. Reapply the sealing every 2-3 years for long-lasting fence protection.
Why Professional Help Matters
While building a wood fence yourself can be rewarding, it’s essential to understand that taking help from a professional ensures long-term durability, compliance with local codes, and a polished finish. Experts at BuyAFence bring decades of experience, use of the right tools, and industry knowledge to handle various challenges. A professional helps you save time, effort, and costly mistakes. Even if you’re exploring DIY, consulting a professional can help ensure the job is done right the first time.
Wood Fence Maintenance Tips
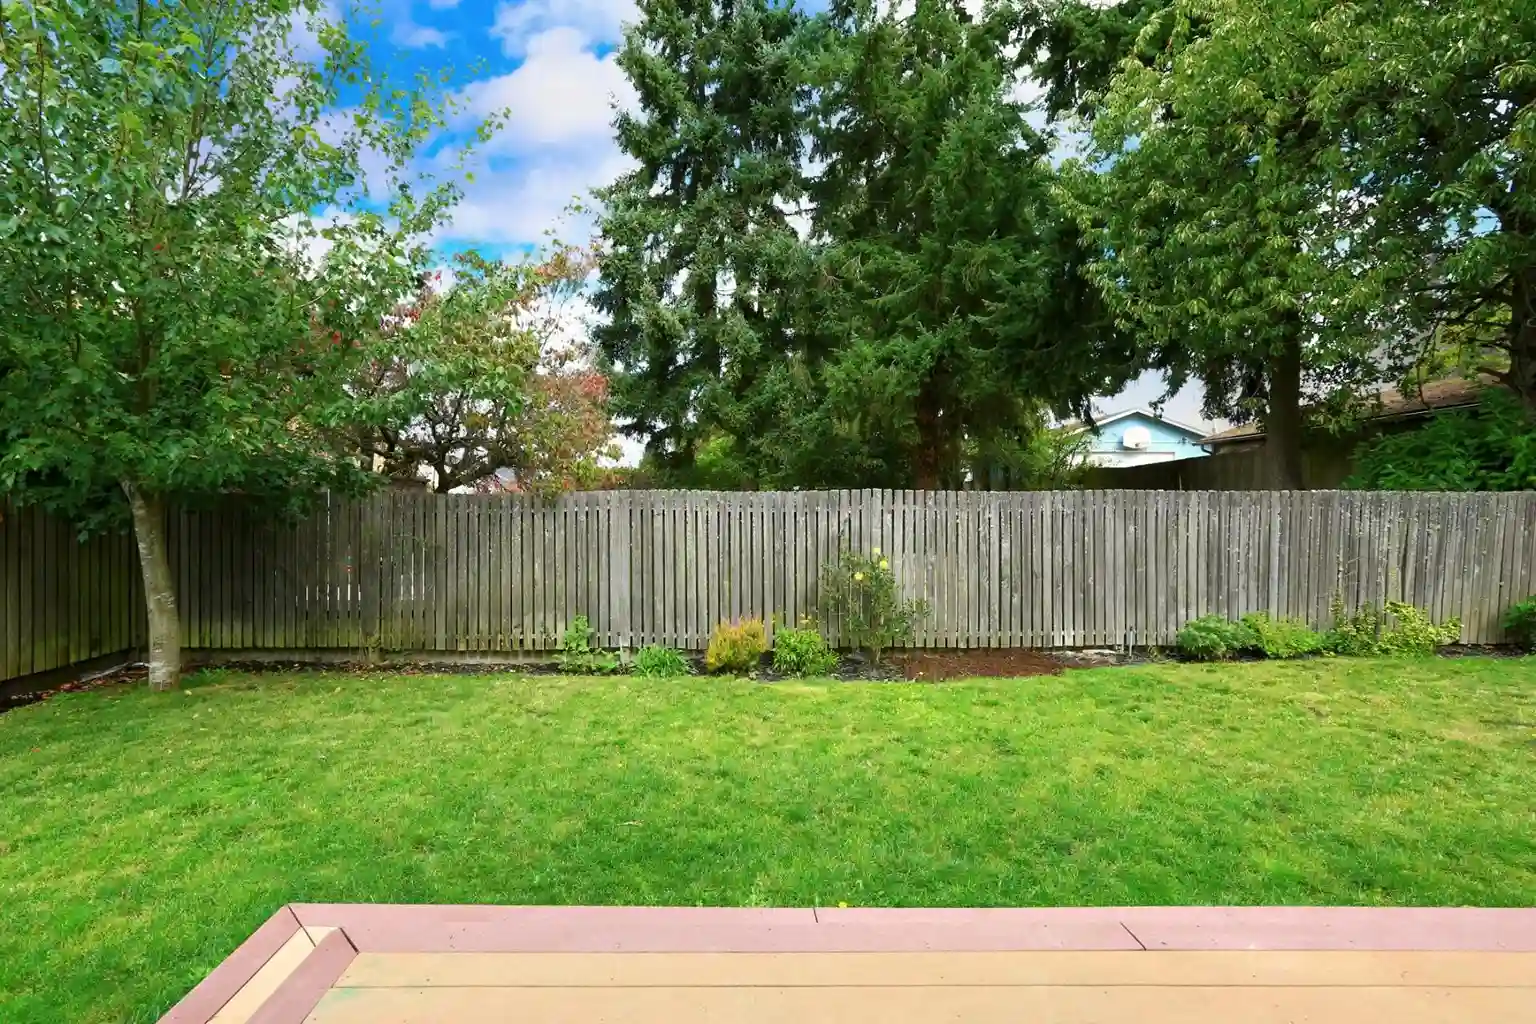
When building a wood fence, remember that a strong foundation is crucial. Whether you’re planning a wood fence installation or already have one, proper maintenance can add advanced charm to your property. Maintaining a wood fence can be surprisingly simple with the appropriate steps. Here’s how to keep your privacy wood fence strong, stylish, and long-lasting:
- Choose the right wood
- Regular cleaning (at least once a year)
- Seal every 2–3 years
- Moisture control
- Check for wear and tear
- Vegetation control
- Replacement when needed
Conclusion
Building a strong wood fence requires thorough planning and using the right tools. In addition to this guide, the biggest requirements will be patience and precision. These will help to ensure that your fence is strong and your lines are accurate. Invest your time, apply the proper techniques, and enjoy the rewards for years. Whether you’re a DIY enthusiast or prefer professional installation, the Buyafence expert team of fence contractors is here to support you every step of the way.
Estimate Your Fence Cost — Fast & Free
Get a Quick Quote With Estimate in Minutes.
FAQs
The cost of wood fence installation can vary depending on your unique needs, preferences, location, weather conditions, budget, and other requirements. To get a more detailed cost estimate, contact our team.
Wood fence posts should typically be buried at least one-third of their total length. For instance, 2–3 feet deep to ensure stability and long-term support for the fence.
With the right tools, planning, and basic carpentry skills, building a fence yourself is possible, especially for straightforward designs like a DIY wood fence. However, if you’re new to woodworking, professional help is recommended to ensure safety.
The standard spacing for the fence is 6 to 8 feet apart. Follow consistent spacing to ensure structural strength and distribute weight along the fence line.
There are wide options available to choose from, including pressure-treated pine, cedar, redwood, and others. These types of wood offer durability, weather resistance, and affordability for DIY projects.
Start by planning the layout, measuring, marking post spots, digging holes, setting the wood fence posts in concrete, and finally attaching rails and panels.
Estimate Your Fence Cost — Fast & Free
Get a Quick Quote With Estimate in Minutes.
Latest Post